Configuring Patient Demographics

Contents
InSync enables you to quickly add patient into the system. You can decide the commonly used fields and configure them accordingly and quickly add patient into the system.
In order to add quick patient, you can decide the commonly used fields and configure them as shown below:
| 1. | From the left menu items, select Administration > General > Patient Demographics. |
| 2. | To configure various fields, follow the below steps: |
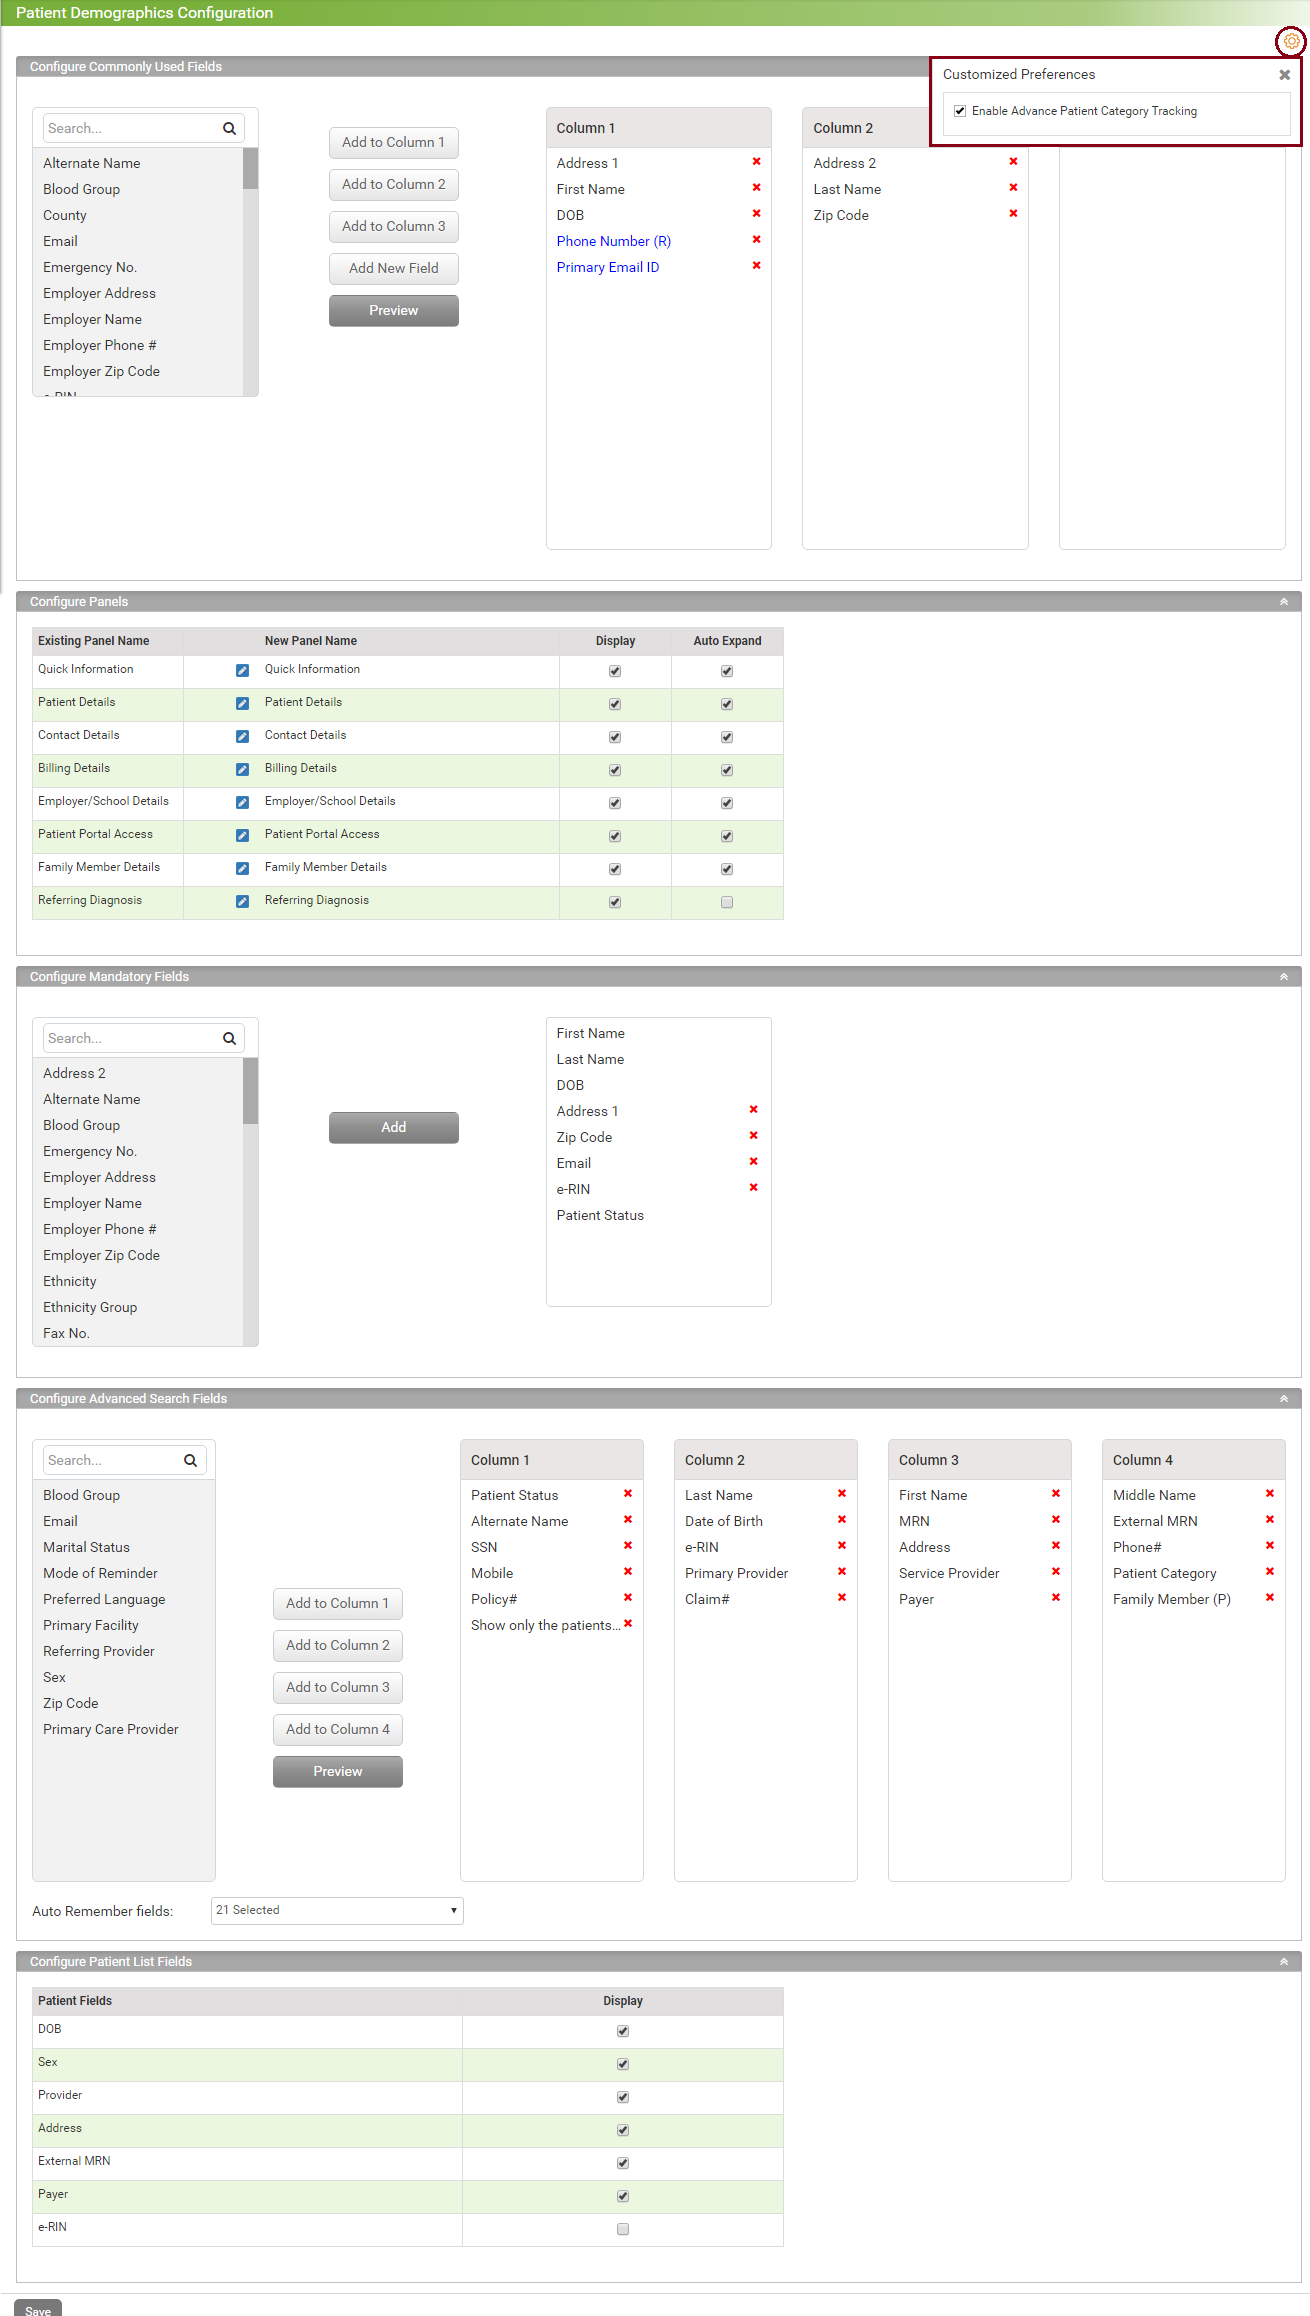
To configure commonly used fields,
| 1. | From the left drag and drop column, select the fields you would like to add to the quick patient form. |
| 2. | Click Add to Column 1, Add to Column 2, Add to Column 3 button to add that field to any respective column as per requirement. |
To add a new field, click the Add New Field button and a pop-up appears:
| o | Enter the Field Name. |
| o | Select Type from the drop down list. If you wish to set this field as mandatory, select the Keep it Mandatory check box. |
| o | Click Add. |
To view the form, click Preview button.
To configure panels,
| 1. | Click edit icon |
| 2. | Select Display check box, to display selected panel on the patient demographics screen. |
| 3. | Select Auto Expand check box, to expand selected panel on the patient demographics screen. |
To configure mandatory fields,
| 1. | Select the fields from the left. |
| 2. | Click Add, to add these fields to column on the right. |
Note: These fields will be set as mandatory for all the patient.
To configure advanced search fields,
| 1. | From the left drag and drop column, select the fields you would like to add to the quick patient form. |
| 2. | Click Add to Column 1, Add to Column 2, Add to Column 3 or Add Column 4 button to add that field to any respective column as per requirement. |
| 3. | Click Save to configure the quick patient forms as required. |
To configure patient list fields,
Select the fields you would like to view on the Patient Search screen grid.